.jpg)

We’ve all been there! You set out to create a beautiful project, but somewhere along the line, it gets ruined. How frustrating! We know that feeling of disappointment when a project doesn’t turn out. That’s why we’ve compiled a list of five common mistakes that ruin machine embroidery projects, so you can tackle your next embroidery endeavor with confidence!
1: Skimming The Project Instructions
It’s a familiar story, isn’t it? You start on a project, think you have it all figured out, and get cocky. So, you skim a few steps and before you know it, your project resembles a bird’s nest! Here at ME Time, our team of experts spend months thoroughly writing and testing project instructions – so you can trust they’ll never lead you astray! Follow your instructions to a T, and you’re bound to succeed. In fact, several of the following mistakes can be prevented by avoiding this one!
-jpg.jpeg?width=559&height=373&name=metds27-1217%20(1)-jpg.jpeg)
2: Leaving Your Machine Unattended
There’s an old wive’s tale in the machine embroidery community that your machine is bound to go haywire the moment you leave the room. We think there’s some truth to this! To be safe, we recommend sticking by your machine’s side through every stitch out. That way, if something does go awry (your needle breaks, your bobbin malfunctions, etc.), you can stop your machine before it eats your project alive.
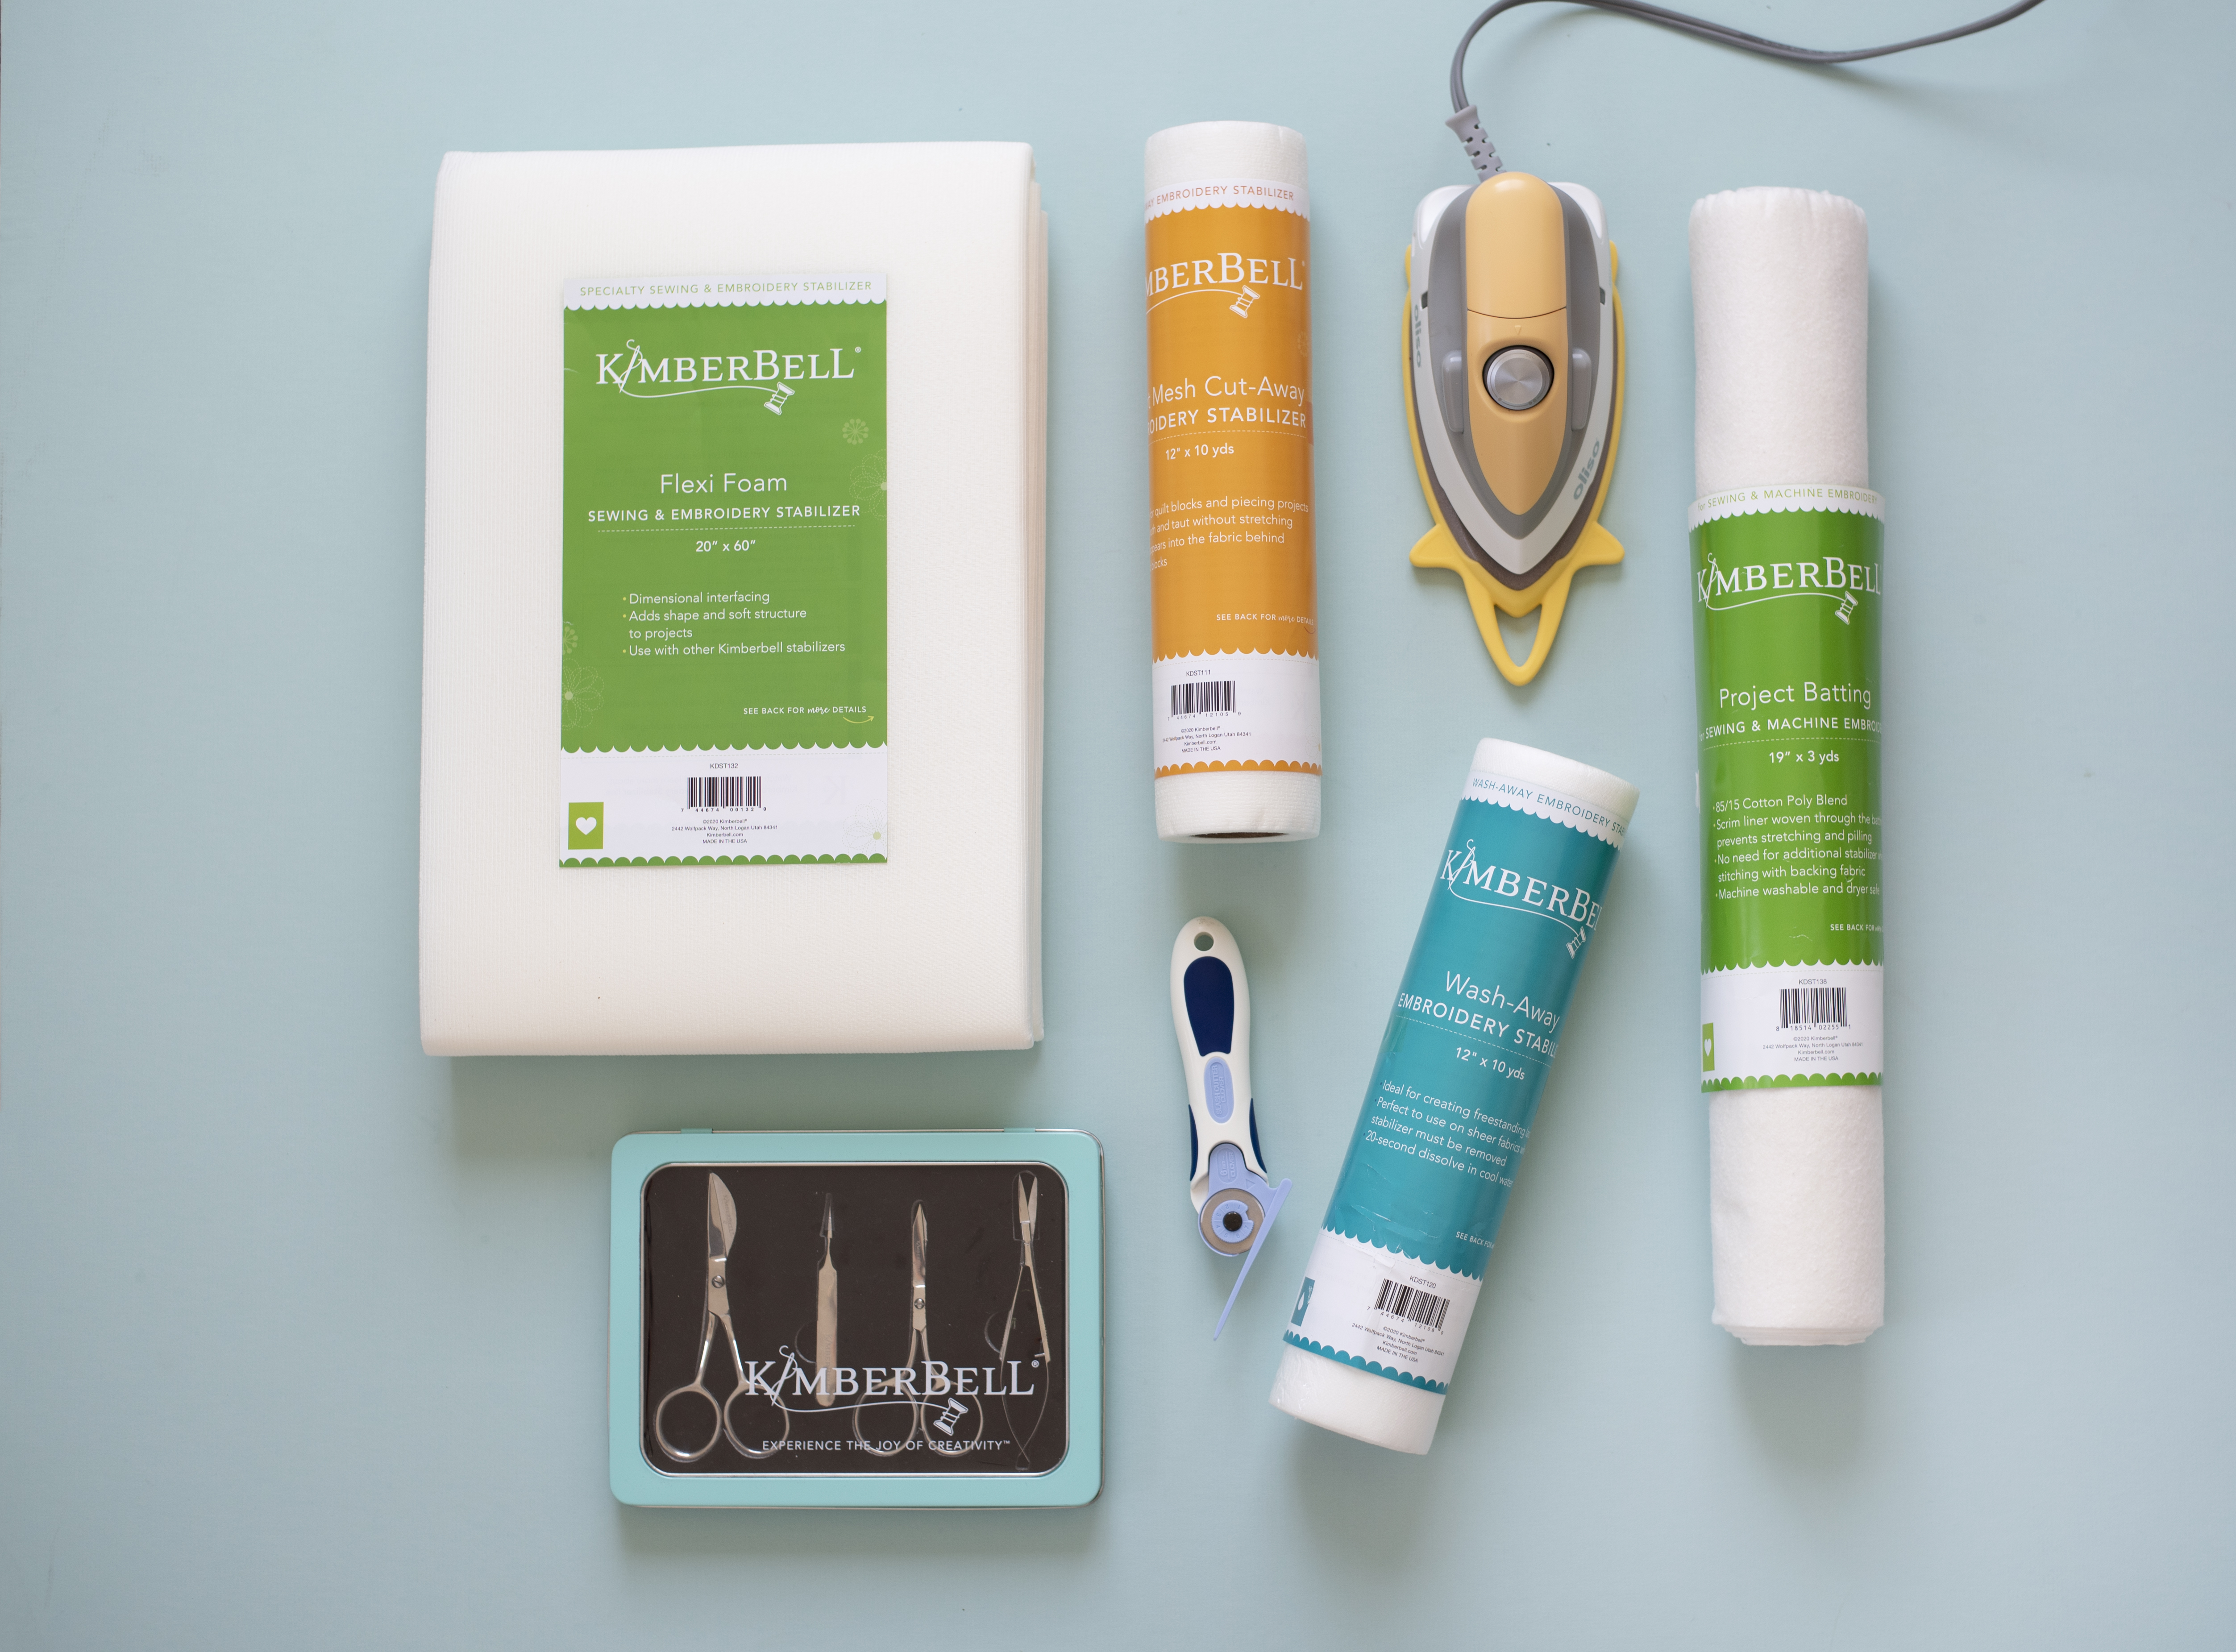
3: Using The Wrong Stabilizer
The world of stabilizer can be overwhelming! With so many options, it can be hard to know which stabilizer is right for your project. Fortunately, ME Time takes the guesswork out of the equation. At the beginning of all ME Time instructions, you’ll find a list of each stabilizer required for the project. For best results, we recommend Kimberbell Stabilizer, available in the ME Time Store. This high-quality brand comes in every variety you’ll need and is color coded for easy identification!
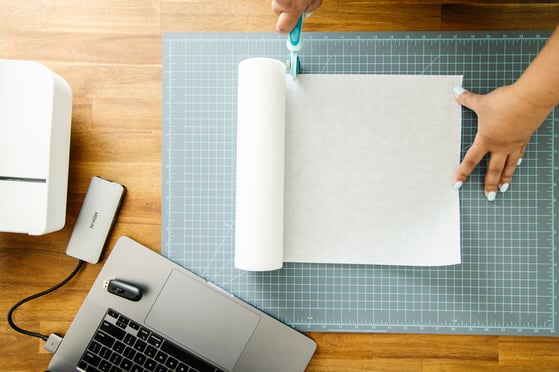
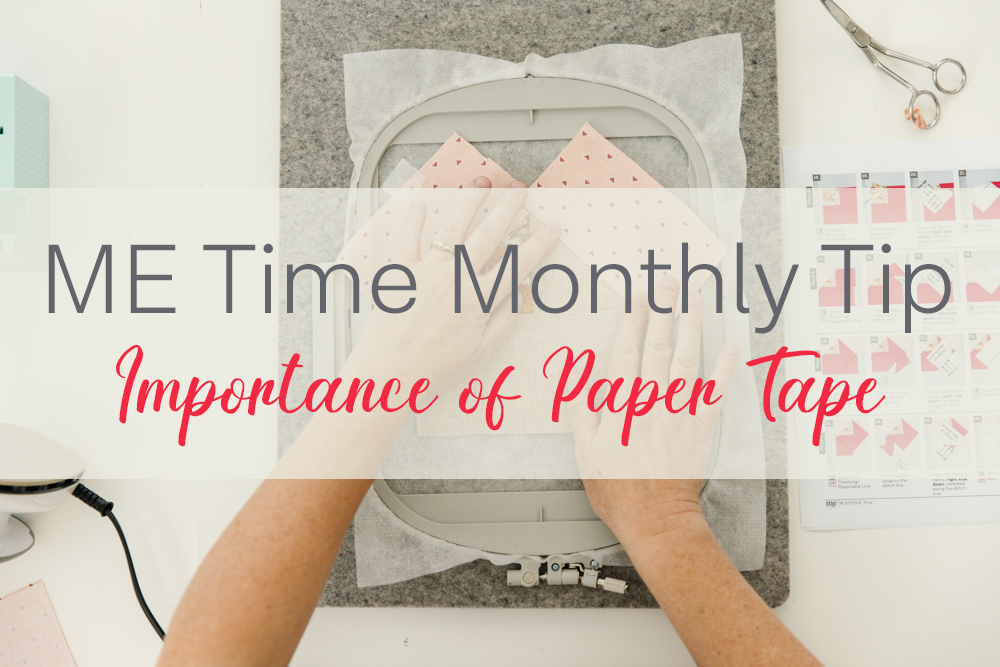
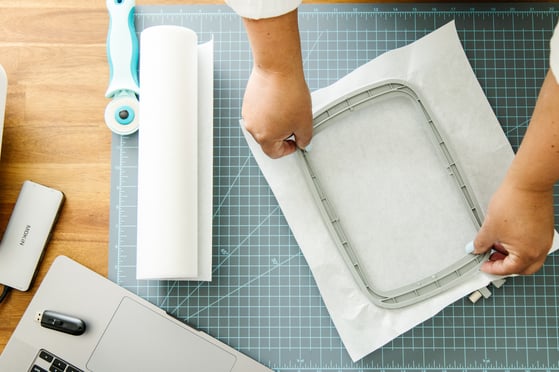
4: Forgetting to Use Paper Tape
If the fury of an embroidery machine is enough to rattle your desk, it stands to reason it may also be enough to disrupt the placement of your applique fabric! Without being properly secured, your fabric will shift throughout the stitch out, creating all sorts of mayhem. That’s why paper tape is a must! Use it to secure your applique fabric to the stabilizer or fabric beneath it. We recommend Kimberbell Paper Tape. It won’t gum up your needle or leave a sticky residue on the fabric. Rule of thumb: the more fluttery and lightweight the fabric, the more tape should be used to secure it. (Chiffon = threat level midnight!)
5: Overstretching Fabric and Stabilizer
A nice taut hoop sounds like a good thing, but a tight hoop is not. Overstretching fabric and stabilizer while hooping has frightful consequences. When your project is removed from the hoop, those stretched materials inevitably resume their relaxed state, causing terrible puckering at the edge of your embroidered design. Fortunately, this mistake is easy to avoid! Resist the urge to tug on your fabric and stabilizer while hooping, simply lay it flat and leave it be.
Now that you know the five mistakes that ruin machine embroidery projects and exactly how to avoid them, you’re ready to get out there and create something beautiful! Happy stitching!
Watch the 5 Mistakes That Will Ruin Your Machine Embroidery Projects on YouTube to learn more about how to avoid these common mistakes.
ABOUT ME TIME: Every machine embroiderer knows how frustrating it can be to find the time and materials to start a new project. ME Time delivers complete machine embroidery experiences right to your doorstep so you can start creating the moment you're ready!