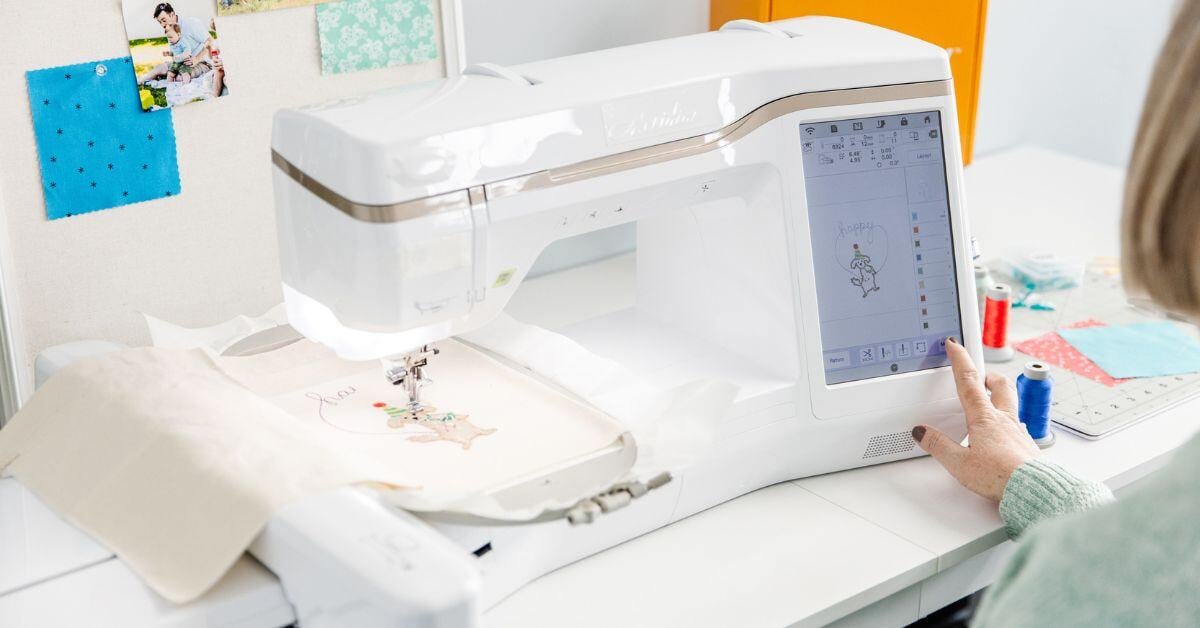
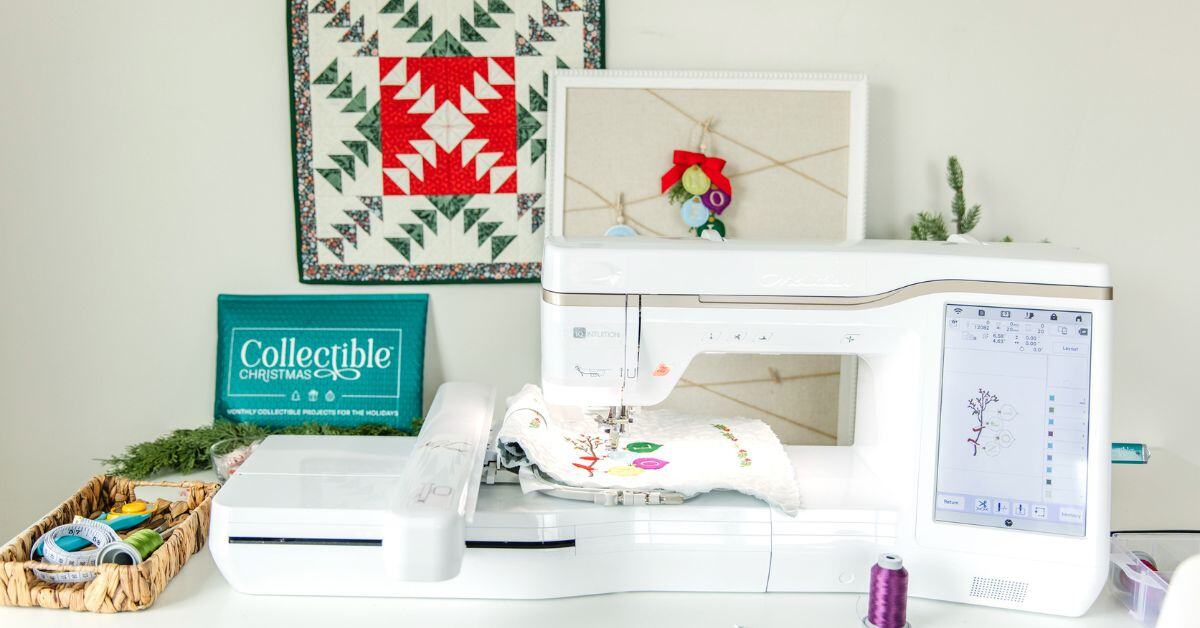
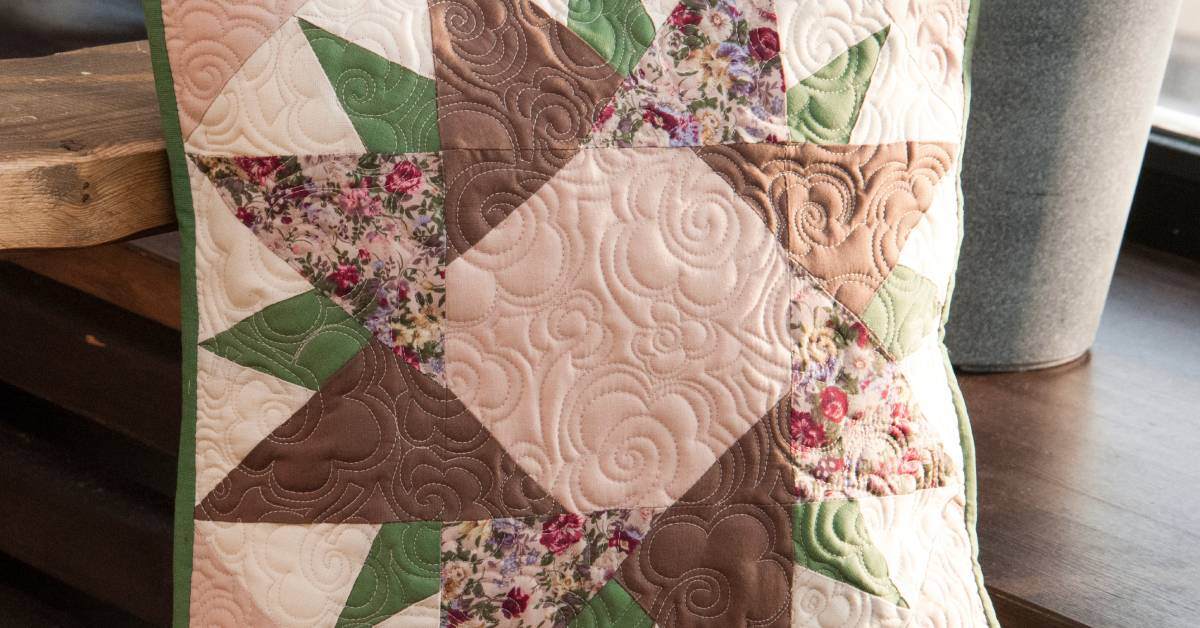
Appliqué is a simple yet beautiful technique that involves attaching a small piece of fabric onto a larger background fabric to create a design. It’s a delightful way to add texture, color, and personality to your fabric project, whether you’re customizing clothes, quilts, cushions, or a unique design conjured from your own imagination!
The possibilities for appliqué designs are endless and can range from simple shapes to intricate patterns. To help you achieve flawless appliqué with your embroidery machine, we’ve gathered some handy tips and tricks that will make the process easier and more enjoyable.
Select Appliqué Fabrics That Complement Your Base Fabric in Weight and Texture
Choosing the right fabrics is essential for creating beautiful and durable appliqué designs. Look for fabrics that match the weight and texture of your base fabric to ensure they lay flat and don’t cause puckering. For example, if you’re working with a lightweight cotton base, select similarly lightweight fabrics for your appliqué.
On the other hand, heavier base fabrics like denim or canvas pair better with sturdier appliqué materials. Don’t be afraid to mix and match textures for added visual interest—just make sure your combinations are cohesive and complement each other!
Pick the Proper Stabilizer To Prevent Shifting or Puckering
The right stabilizer keeps your fabric from stretching or moving around as you sew, making your appliqué process much smoother. If you're working with thinner fabric, a tear-away stabilizer is a great option—it adds support while you're stitching and can be easily removed afterward.
For thicker or stretchy fabrics, consider using a cut-away stabilizer that establishes long-lasting structure. And don't forget about fusible stabilizers! These handy tools stick to your fabric with a simple press of your iron, giving you extra stability right where you need it.
Adjust Your Thread Tension To Prevent Looping or Pulling
When it comes to thread tension, finding the sweet spot is key to achieving flawless appliqué. If your stitches are looping on the top or bottom of your fabric, chances are your tension needs a little tweak. Start by testing your stitching on a scrap piece of fabric similar to that of your project.
Adjust the top thread tension in small increments until everything looks balanced—no loops, no puckering, just smooth, even stitches. Don’t forget to check that your bobbin is wound evenly; an uneven bobbin can cause its own set of headaches. With a bit of trial and error, you'll have your machine humming along in no time!

Wash and Iron Your Appliqué Beforehand To Prevent Shrinkage
Pre-washing your fabric and appliqué pieces is a simple step that can save you plenty of frustration later. By removing any potential shrinkage before stitching, you'll ensure that your finished project stays looking polished even after its first wash.
Simply wash your fabric as you would the completed item, and don’t skip ironing—it helps keep everything flat and makes cutting and aligning your pieces a breeze. It’s one small step that truly sets the stage for a professional-looking result!
Use Temporary Adhesive Sprays or Glue To Secure the Fabric
Adhesives can be a game-changer when it comes to keeping your fabric in place before stitching. Temporary adhesive sprays or fabric glue provide just the right amount of hold without leaving behind any residue. They’re perfect for securing tricky or delicate appliqué pieces that like to shift around.
Just a quick spritz or dab and your design will stay put as you bring it to life with your stitching. Remember to use them sparingly. Too much can make things sticky and harder to work with. It’s all about finding that balance where your fabric feels secure but is still easy to maneuver.
Use Pins, Tape, or Adhesive To Stabilize Extra Layers if Needed
Sometimes, you’ll find yourself working with multiple layers of fabric that just seem determined to shift and slide, no matter what you do. Fear not! That’s where good old-fashioned pins, tape, or even a bit of clever ingenuity come into play.
Straight pins are a classic choice; just be sure to keep them perpendicular to your seams so that they don’t budge. Washi tape or painter’s tape can also be a lifesaver for temporarily holding layers in place without leaving sticky marks behind. A quick stitch with contrasting, easy-to-see thread can also act as a temporary basting line that’s super easy to remove later.
Choose a Matching or Contrasting Thread for the Final Decorative Stitch
The thread you choose can make all the difference in your project’s final look. If you want your stitches to blend seamlessly into the fabric, take the time to find a thread with the same shade and undertones as your applique fabric.
On the other hand, selecting a contrasting thread can add a bold, decorative touch that stands out and shows off your handiwork. Simply take a quick peek at the color wheel to find that perfect complimentary color. Don’t be afraid to experiment; sometimes, the unexpected choice becomes the highlight of the entire piece.

Experiment With Decorative Stitches
Decorative stitches are where your creativity can truly shine! With so many patterns and styles to choose from, this is your chance to add flair and uniqueness to your project. You can experiment with narrow zig-zags, blanket stitches, or any other pre-programmed stitches on your machine to create designs that will make your piece truly one-of-a-kind.
With a little trial and testing, you may just stumble upon your new favorite stitch! Whether you’re going for subtle accents or bold statement details, decorative stitches are a fantastic way to take your project to the next level.
Test Your Design on Fabric Scraps Before Tackling Your Final Project,
As you can probably tell by now, we really believe that testing your design on fabric scraps can act as the blueprint for a truly incredible project. These little test runs allow you to perfect your technique, adjust thread tension, and see how different stitches look on your chosen fabric.
Think of it as a dress rehearsal for your project! It’s your opportunity to iron out any wrinkles before committing to the final piece. Plus, experimenting with scraps can spark new ideas or help you discover unexpected combinations.
Take Your Time, Be Patient, and Focus on Each Step
The most important tip for perfect machine applique? Take your time! Rushing through your project might seem tempting, especially when you're excited to see the final result, but patience truly pays off. Move through each step deliberately, whether you’re threading your machine, aligning your fabric, or perfecting your stitch length. The magic is in the details!
Don’t worry if things aren’t perfect the first time; every stitch is a learning step toward a more polished piece. Pause to admire your progress, celebrate small wins, and remind yourself that crafting is as much about the joy of creating as it is about the finished product. You’ve got this—one stitch at a time!
At ME Time, we’re here to help you build those creative instincts and master these tricks and techniques with our monthly dose of inspiration! With our subscription service, we’re not just sending you a simple design file; we’ll give you everything you need to create something truly lovely while you refine your skills.
Plus, if you’re a holiday lover like we are, we’ll give you a head start on creating magical decorations with our machine embroidery patterns for Christmas. So go ahead, embrace your inner maker, and let’s create something beautiful together!


