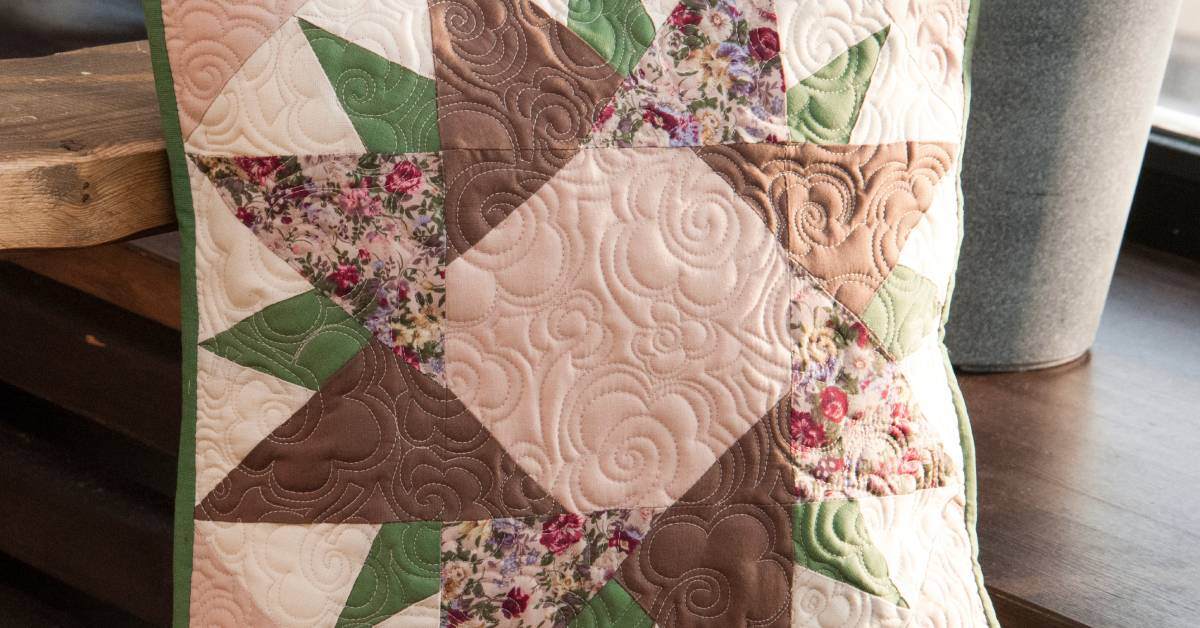
Have you ever wanted to create one-of-a-kind gifts? Maybe you’re looking to personalize your denim jacket or add a unique flair to your home decor. If you've ever marveled at the delicate art of embroidery or dreamt of transforming simple fabric into a vibrant masterpiece, you're in for a treat. In this guide, we’ll take you step-by-step through starting your very first machine embroidery project so that you can begin your stitching journey on the right foot.
Essential Materials and Tools
Before diving in, take time to gather all the essentials you’ll need for your machine embroidery project. Fortunately, the list isn’t too long, and once you have these items, you’ll be ready to jump right in!
- Embroidery machine: This is the star of the show. A good starter embroidery machine doesn’t need to be overly fancy but should have the basic features to create a variety of designs.
- Embroidery hoops: These keep your fabric tight and secure so that your stitches come out perfect. Make sure to get a few different sizes to match your projects.
- Stabilizer: This crucial item helps keep your fabric from puckering and shifting while you stitch. There are various types of stabilizers, such as cut-away or tear-away, and one may be more appropriate depending on your fabric and design.
- Embroidery thread: Specifically designed for machine embroidery, these threads come in a rainbow of colors. Trust us—you’ll want to gather a few vibrant options!
- Needles: You’ll need needles specifically made for machine embroidery. These are different from regular sewing needles and can handle the speed and complexity of embroidery stitches.
- Fabric: Start with a simple, medium-weight fabric. Cotton or polyester blends work wonderfully for beginners.

Setting Up Your Workspace
Setting up your workspace is the first step to ensuring a smooth and enjoyable embroidery experience. Let's turn that corner of your room into a creative hub! Here are a few things you’ll need to get started:
- Clear surface: You’ll need a clean, flat surface for your machine. A sturdy table or desk works perfectly. Make sure there's enough room to move around.
- Adequate lighting: Good lighting is crucial. Natural light is great if you have it, but if not, consider investing in an adjustable desk lamp. This will help you see those intricate details.
- Comfortable seating: Choose a chair that offers good support—it’ll make long stitching sessions more comfortable. Your back will thank you later!
- Organized tools: Keep your hoops, threads, scissors, and other essential tools within arm’s reach. Small storage containers or drawers can help keep everything tidy and accessible.
- Designated fabric area: Dedicate a small area for your fabrics. Folding and storing them neatly will not only make your space look nicer but also preserve the quality of your materials.
- Power setup: Ensure your machine is near a power outlet. Use a surge protector to safeguard your investment against electrical surges.
Preparing Your Embroidery Machine
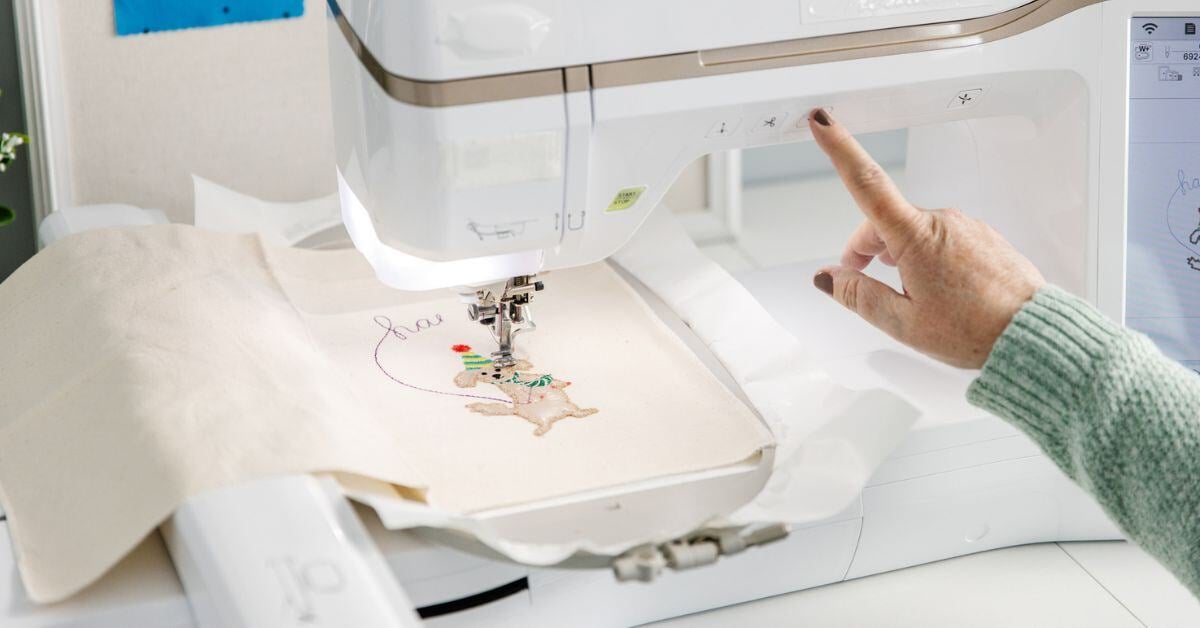
Alright, let's get that embroidery machine fired up and ready for action! First things first, plug in your machine and turn it on. Don’t worry if it seems a bit intimidating at first—all those buttons and screens will become second nature with a bit of practice.
Next, you’ll want to load your thread. Follow your machine’s instructions to thread the needle—this usually involves guiding the thread through several hooks and levers. You’ll want to make sure the machine is threaded correctly to avoid any tangles or breaks while you’re stitching.
Once your needle is threaded, it’s time to set up your bobbin. This little spool of thread goes under your fabric and works together with the top thread to create those fabulous stitches. Checking your machine’s manual can help guide you in winding and inserting the bobbin properly.
With the threads all set, attach the embroidery hoop to your machine. Secure your fabric tightly in the hoop to prevent any slipping or bunching. Double-check that your stabilizer is properly in place—this step can make or break your project’s final look. Once you're done, you’re ready to select your design.
Choosing and Preparing Your Design
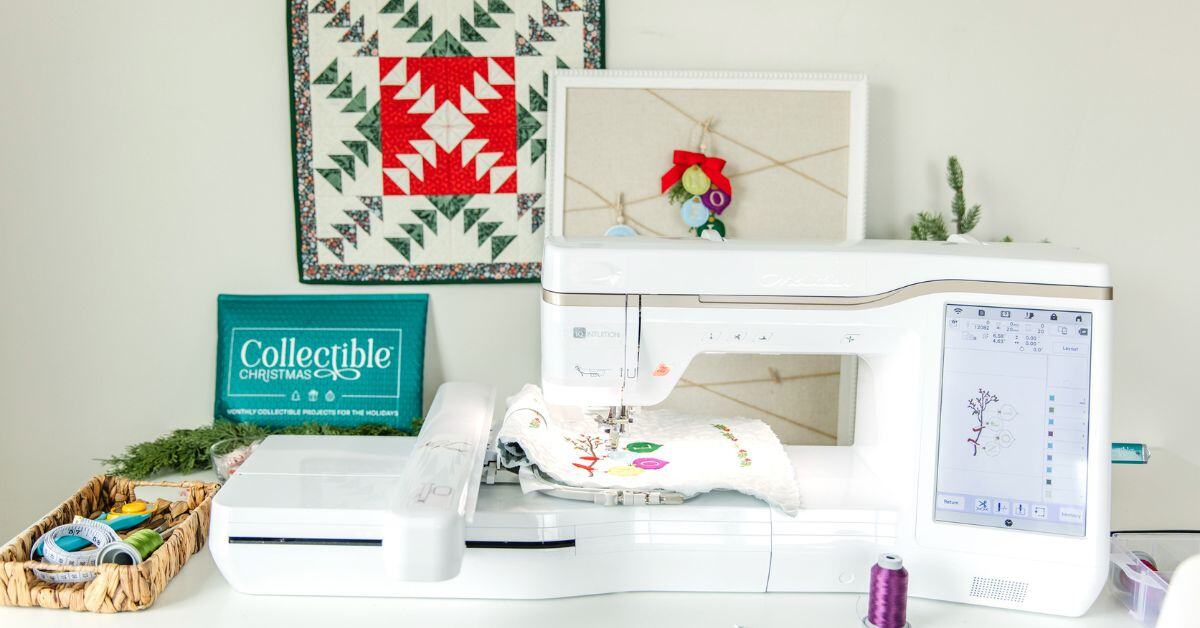
Now comes the fun part—picking out the design you'll bring to life with your embroidery machine. If you’re just starting, it's a good idea to choose a simple and small design. If you’re still unsure how to download patterns, look through your machine's built-in options; many models come with a variety of cute and basic patterns that are perfect for beginners.
Once you’ve selected your design, it’s time to tweak and prep it. Use your machine's screen to resize and reposition the pattern if necessary. Don't worry about making your first project perfect—this is all about getting comfortable with your new hobby. You might want to test the design on a scrap piece of fabric first just to see how it turns out.
Grab a piece of fabric that you don't mind experimenting on and get comfortable with your machine's settings. Try out different stitches, thread tensions, and speeds to see how they affect your stitching. This will help you get a feel for the machine and build your confidence before you tackle your main project.

Starting Your Main Project
Now, it’s finally time to start your main project. Place your fabric in the embroidery hoop, making sure it’s taut and smooth. Attach the hoop to your machine carefully so that nothing moves out of place. Double-check that your stabilizer is secure underneath; this little step can really make a difference in your final outcome.
Next, take a moment to ensure everything is perfectly aligned. Use your machine’s screen to once again verify the design placement. When you’re happy with how everything looks, it’s time to lower the presser foot and hit start. Watching your design come to life stitch by stitch is incredibly satisfying; you’ll see how the colors blend, and the pattern takes shape. If you need to change thread colors, don’t rush. Pause the machine, rethread with the new color, and resume stitching.
Keep an eye on your machine as it works through your design. It's smart to occasionally check the back of your fabric to make sure there aren’t any tangles or knots.
Finishing Touches
You’ve reached the final stretch, and it’s time to add those last little details that will make your project truly shine. Once your machine finishes stitching, carefully remove the hoop and unclip your fabric. Gently peel away the stabilizer from the back; if you’re using a tear-away type, this should be pretty straightforward. For any stubborn bits, use a pair of small scissors or tweezers to help tidy things up.
Next, it’s cleanup time! Snip any loose threads on the front or back of your project and press your fabric with an iron to create a polished finish. Make sure to use a pressing cloth and set the iron on a low heat setting to avoid damaging your project. This step helps smooth out any wrinkles and sets the stitches, giving your project that professional look.
If you’ve made it to the end, congratulations! You’re ready to start your first machine embroidery project. Remember that the key to mastering embroidery is practice and patience. Each stitch you make is a step toward honing your skills and discovering your unique style.
At ME Time, we sell machine embroidery monthly subscription boxes for crafters of all skill levels, giving you the tools to make unique collections of beautiful fabric art. With our easy-to-follow tutorials and top-quality materials, you’ll be creating stunning embroidery pieces in no time.