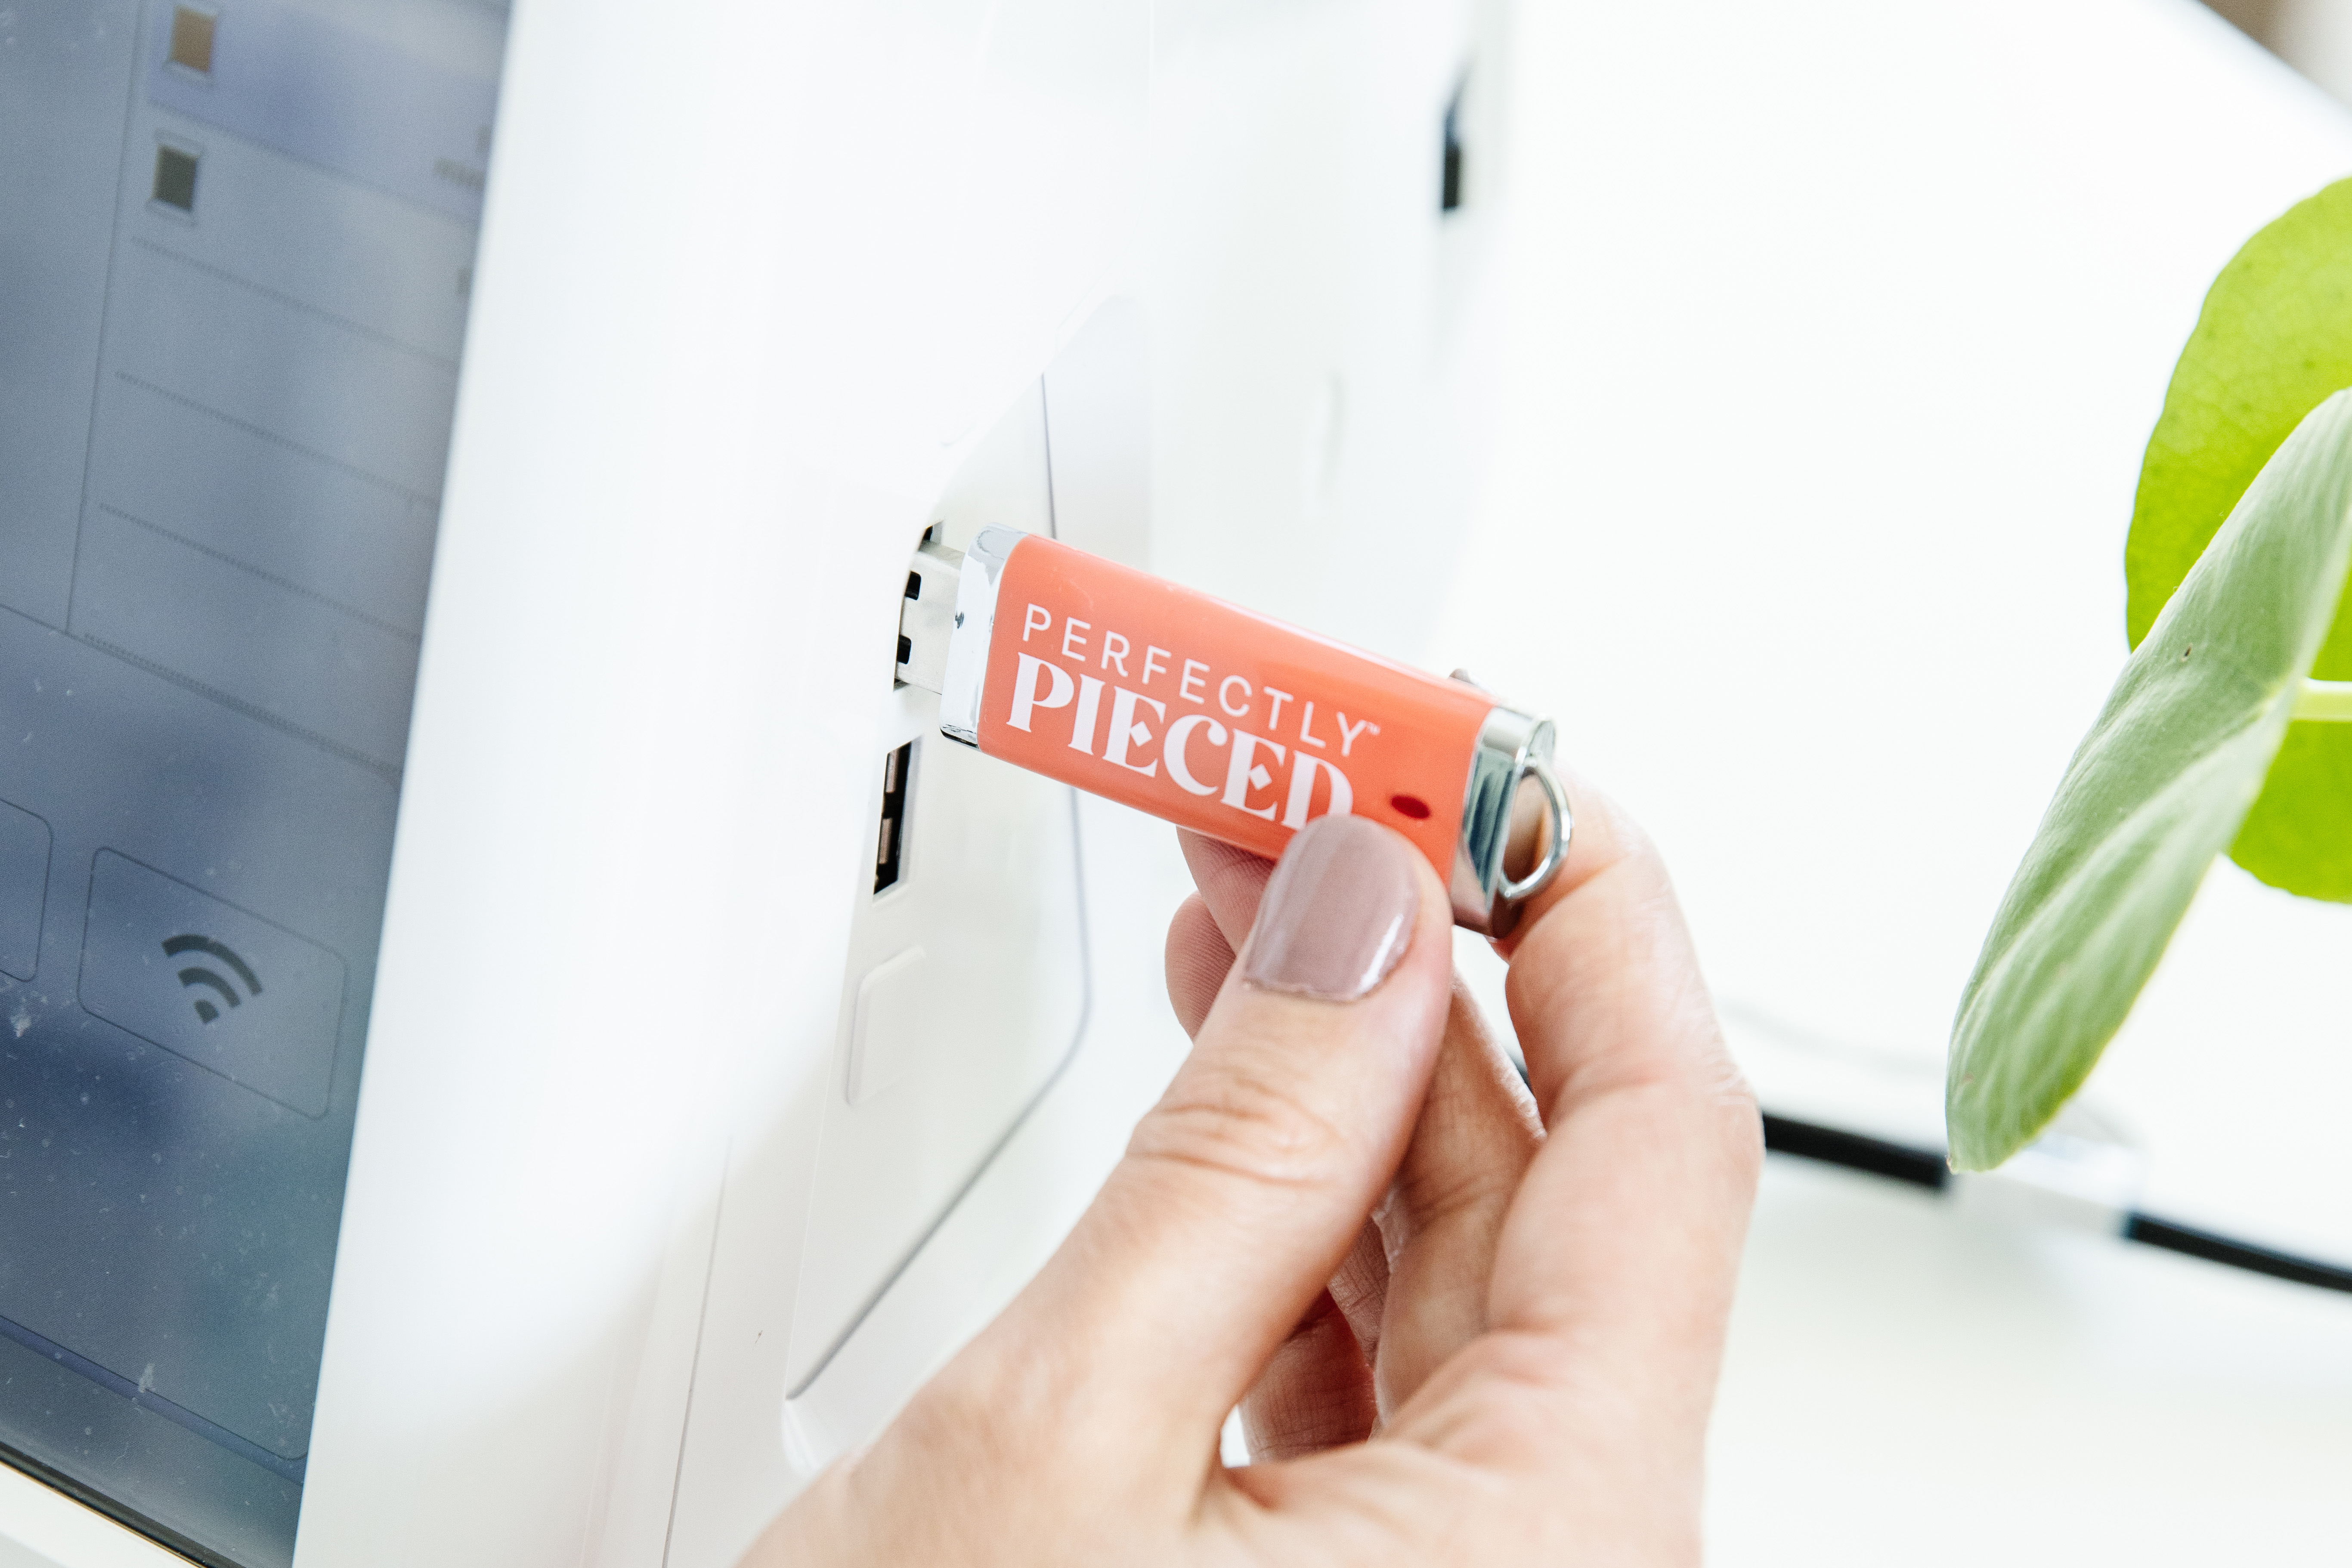
Watch the video or read the instructions below for a full tutorial on transferring your digital embroidery files to a USB on your Computer! Please note that instructions for a Mac Book and a Windows Computer are different.
Transferring Files to USB on a Windows Computer
- First, download the desired file from your Digital Library at metimedelivered.com.
- Insert a USB into your computer.
- Open File Explorer (yellow folder) and click on Downloads. Your recent ME Time download will appear at the top of your file list, with a zipper icon over a yellow file. (This means the file is compressed.)
- Next, right click on the compressed folder and click Extract All. A new Select Destination window will appear.
- Select where you’d like your files to save by clicking Browse, then select the desired destination, and click Select Folder in the bottom right.
- Next, click Extract. Allow a few moments for your files to load, then go to the destination you chose to extract your files to.
- Hold down the left click on your mouse and drag files to the left menu, where your USB is listed. Release the hold while your cursor is over the USB folder. This will copy the file(s) to your USB.
- Next, remove the USB from your computer and insert it into your embroidery machine. Happy Stitching!
Transferring Files to USB on a Mac Book
- Log into your ME Time account and download your project files.
- Insert your USB.
- Open File Finder and click Downloads.
- Move your files to your USB.
- Eject the USB from your computer and insert it into your embroidery machine. Happy Stitching!

ABOUT ME TIME: Every machine embroiderer knows how frustrating it can be to find the time and materials to start a new project. ME Time delivers complete machine embroidery experiences right to your doorstep so you can start creating the moment you're ready!
Click to learn more about ME Time subscriptions.


.jpg)
