At the heart of every stunning embroidered masterpiece lies a humble yet essential component: the stabilizer. Think of it as the secret superhero of your embroidery efforts, providing the strength and support your creations need to stand out flawlessly.
Whether you're an experienced thread artist or a curious newbie, cracking the code of stabilizers will unlock a whole new level of creativity and precision. So grab your embroidery machine, unleash your imagination, and let this article be your guide to stabilizers and unlocking machine embroidery perfection.
Importance of Stabilizers in Embroidery
Stabilizers are like the trusty sidekicks of embroidery—reliable, steady, and crucial for success. They ensure that your fabric stays in place, preventing puckering and distortion as you stitch your designs. Without a stabilizer, threads can shift, and your painstaking effort may not look as crisp as intended.
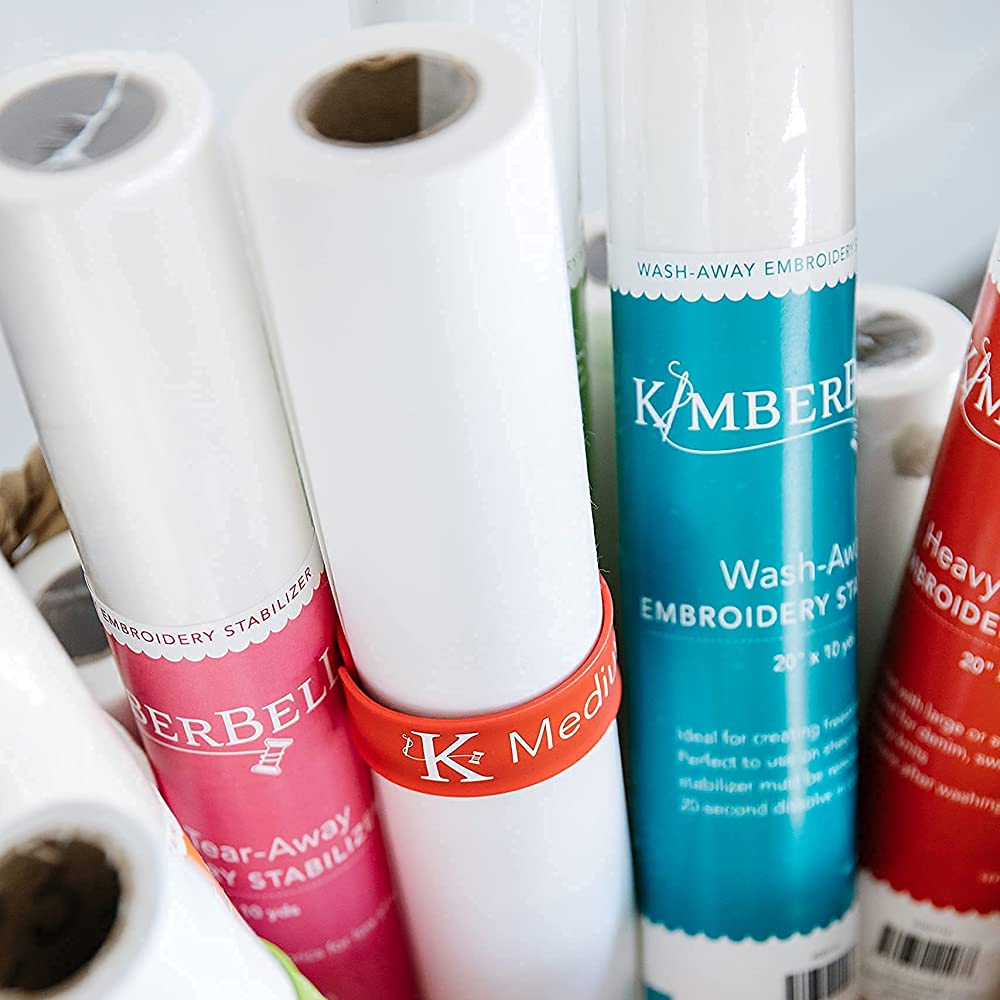
Using the right stabilizer transforms your embroidery experience from stressful guessing to confident artistry. They come in various types—cut-away, tear-away, wash-away, and more—each with the ability to different fabrics and designs, giving you the freedom to experiment and perfect your handiwork.
Types of Stabilizers
Tear-Away Stabilizers
Let's dive into tear-away stabilizers, one of the most versatile options out there. These stabilizers are incredibly easy to use, making them perfect for beginners and seasoned pros alike. Once you finish stitching your design, you can easily remove these stabilizers, leaving your embroidery neat and tidy.
They work wonders with stable, woven fabrics and are ideal for simple designs without a lot of intricate detail. Just remember to secure them well before you start stitching, and you'll be amazed at the clean finish. Tear-away stabilizers are your go-to choice for hassle-free embroidery projects that look polished and professional with minimal effort.
Cut-Away Stabilizers
Unlike tear-away stabilizers, which you remove after stitching, cut-away stabilizers stay in place, providing a permanent foundation for your embroidery. This makes them particularly ideal for stretch fabrics, such as knits or any garment that will undergo frequent wearing or washing.
To use, simply hoop the stabilizer with your fabric, and once your design is complete, trim away the excess stabilizer around the embroidery. With cut-away stabilizers, you can confidently tackle complex designs, knowing they will maintain their beauty and structure over time.

Water-Soluble Stabilizers
As the name suggests, water-soluble stabilizers dissolve completely in water, making them perfect for projects where you don't want any stabilizer residue left behind. They're the best choice for delicate projects as they vanish as if by magic, leaving only your stunning design as the star of the show.
All you need is a quick rinse under cool water, and voilà, your creation will remain and the stabilizer will wash away. Whether you're crafting delicate heirlooms or whimsical accessories, water-soluble stabilizers make light work of complex patterns, giving your artistry the edge it deserves.
Heat-Away Stabilizers
Heat-away stabilizers disappear with a swift pass of your iron, leaving nothing but your perfect stitches behind. They’re an excellent choice for projects requiring no stabilizer remnants, such as detailed lacework or intricate cutwork.
Simply place them under your fabric before stitching, and once your masterpiece is complete, apply a little heat magic with an iron. With heat-away stabilizers, you’ll enjoy smooth finishes and crisp designs, all while keeping things tidy and residue-free.
Choosing the Right Stabilizer
Selecting the correct stabilizer for your embroidery project is pivotal to achieving top-notch results. The key is to match the stabilizer to your fabric type and the complexity of your design. For instance, if you're working with stretchy fabrics, such as jersey, a cut-away stabilizer provides the necessary support to maintain the integrity of your embroidery over time.
In contrast, stable fabrics such as cotton work effectively with tear-away stabilizers, allowing for easy removal without compromising your design. For projects that demand a clean finish without any stabilizer residue, consider using water-soluble or heat-away stabilizers. Water-soluble is excellent for lacework and standalone patterns, while heat-away is best for intricate, needle-dense designs that require precision.

Techniques for Using Stabilizers
Proper Preparation and Application
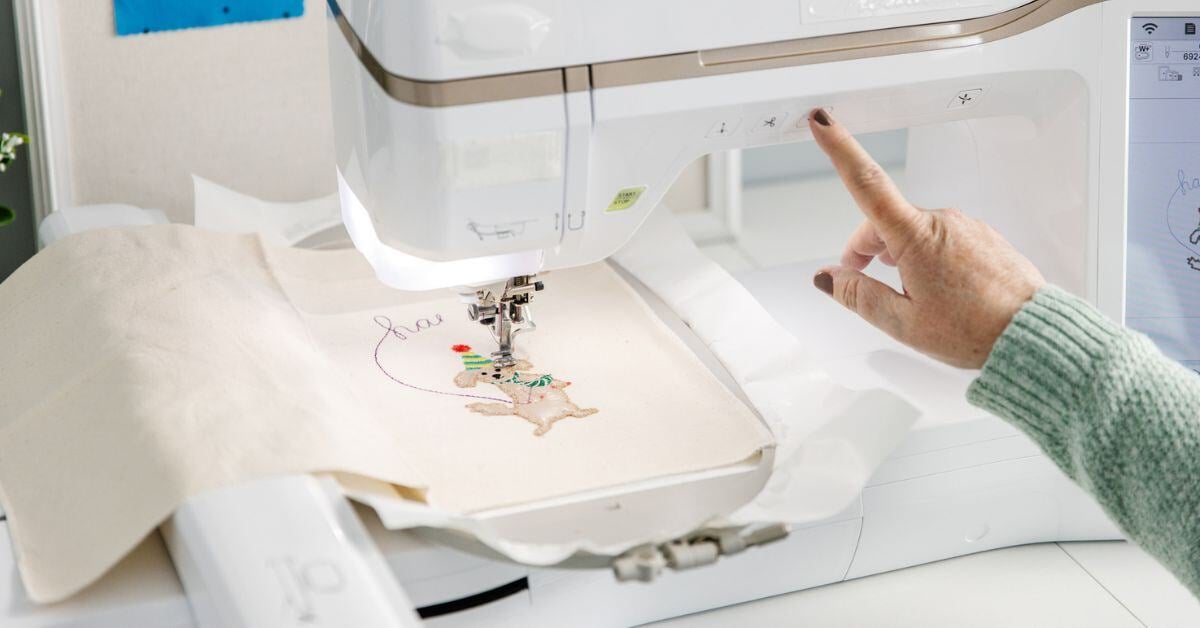
To achieve incredible results, you’ll want to start by choosing the appropriate stabilizer for your fabric and design requirements. Prepping your fabric correctly is the next step—make sure you clean and iron it thoroughly to free your fabric of any wrinkles that could distort the stitching process. Securely hoop both the fabric and stabilizer together, ensuring they are taut but not overly stretched, as this can lead to puckering; make sure to evenly apply your adhesive to avoid clumps.
As you stitch, monitor the process to adjust tension settings if necessary, preventing thread breakages or uneven stitching. Finally, once your embroidery is complete, follow the specific removal or trimming instructions for your chosen stabilizer type, taking care not to disturb the finished design.
Common Mistakes to Avoid
Embarking on your embroidery journey involves a learning curve, and making mistakes with stabilizers is part of the process. The good news is that being aware of some common pitfalls can help you avoid them. First, take your time! It might seem obvious, but your stabilizer plays a large role in the success of your project, so make sure you’re choosing the right match for your project. If you’re unsure, test your stabilizer on a sample to avoid any surprises.
Another frequent error is uneven hooping. Failing to secure your fabric and stabilizer tautly can cause puckering or misalignment. Additionally, over-stabilizing by using excessive layers may hinder the flexibility of your fabric, resulting in rigid embroidery that doesn’t give you that elegant draping.
Tips for Removing Stabilizers Post-embroidery
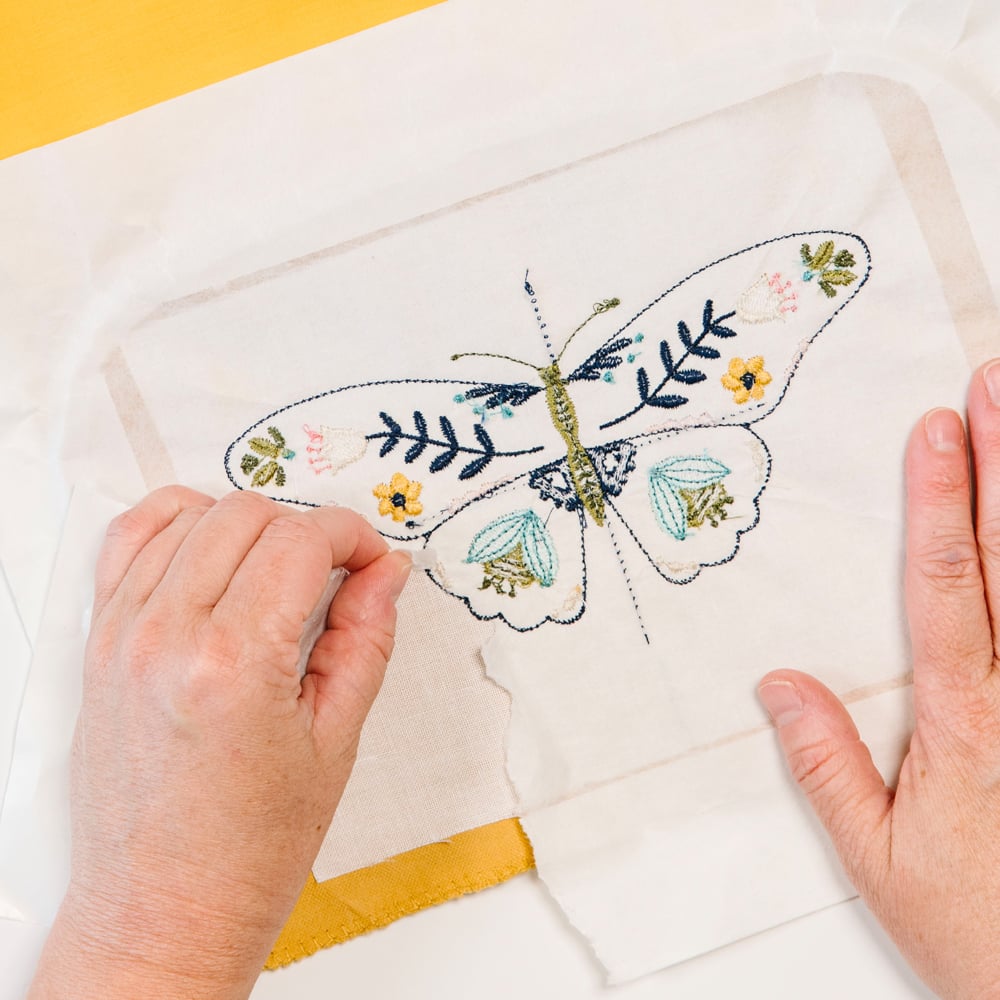
You’ve stitched your heart out and now it’s time to wrap up your project by tackling the stabilizer removal like a pro. Each type of stabilizer has its own removal method. For tear-away stabilizers, gently tear them from your design, ensuring not to tug too hard on the stitches. If you’re working with cut-away stabilizers, carefully trim away the excess, leaving enough to maintain support without being seen.
With water-soluble stabilizers, the magic happens with a simple soak in cool water until it dissolves away, while heat-away stabilizers need a little bit of heat from your iron to disappear completely. Take it slow and steady with these processes, and soon you’ll reveal that beautiful embroidery in all its glory.
Who knew that a little material could make such a big difference? With this quick and easy guide to stabilizers, you now have the key to unlocking dazzling machine embroidery projects.
If you’re looking for some inspiration, grab your tools and newfound knowledge and get ready to start an incredible journey. At ME Time, our subscription boxes are bursting with fun machine embroidery designs, delivering joy and creativity right to your door once a month. Explore your creative side with our expertly curated boxes and discover new techniques, materials, and designs.


