When you begin a new machine embroidery project, one of the first decisions you have to make is what stabilizer to use. Picking the right stabilizer is a crucial decision that will affect your experience and the final result of your project. Taking time to learn what stabilizer does, and which stabilizer works best for your project, can make your projects run smoother and look better. Stabilizer School is here to help you learn about stabilizer so you can spend your “ME Time” creating beautiful projects and not stressing about stabilizer.
Why Cut-Away Stabilizer?
Cut-Away Stabilizer is a thicker version of stabilizer that is designed to be trimmed away from your projects with scissors. Cut-Away is perfect for projects on stretchy fabrics because it stays smooth and taut during stitching, and is great for quilting where the stabilizer won’t be seen. Look to use Cut-Away Stabilizer on projects like:
- T-shirts
- Knits
- Sweatshirts
- Spandex blends
- Stretchy fabrics
- Other wearable fabrics
Cut-Away Stabilizer helps prevent stretching, puckering, and distortion that can occur during the stitching process. However, unlike Tear-Away, Cut-Away is great for stretchy fabrics, clothing, or projects you’ll be using consistently because it helps the designs stay intact even after stitching. It's designed to hold up even after multiple washes and uses, and is perfect for giving your designs ongoing support.
Helpful Tips for Cut-Away:
- Make sure to trim at least ¼” away from the edge of your design to ensure a firm hold on your stabilizer.
- If your design is more intricate, don’t cut inside the design itself. Leaving stabilizer in those open areas will help increase the durability of your stitches.
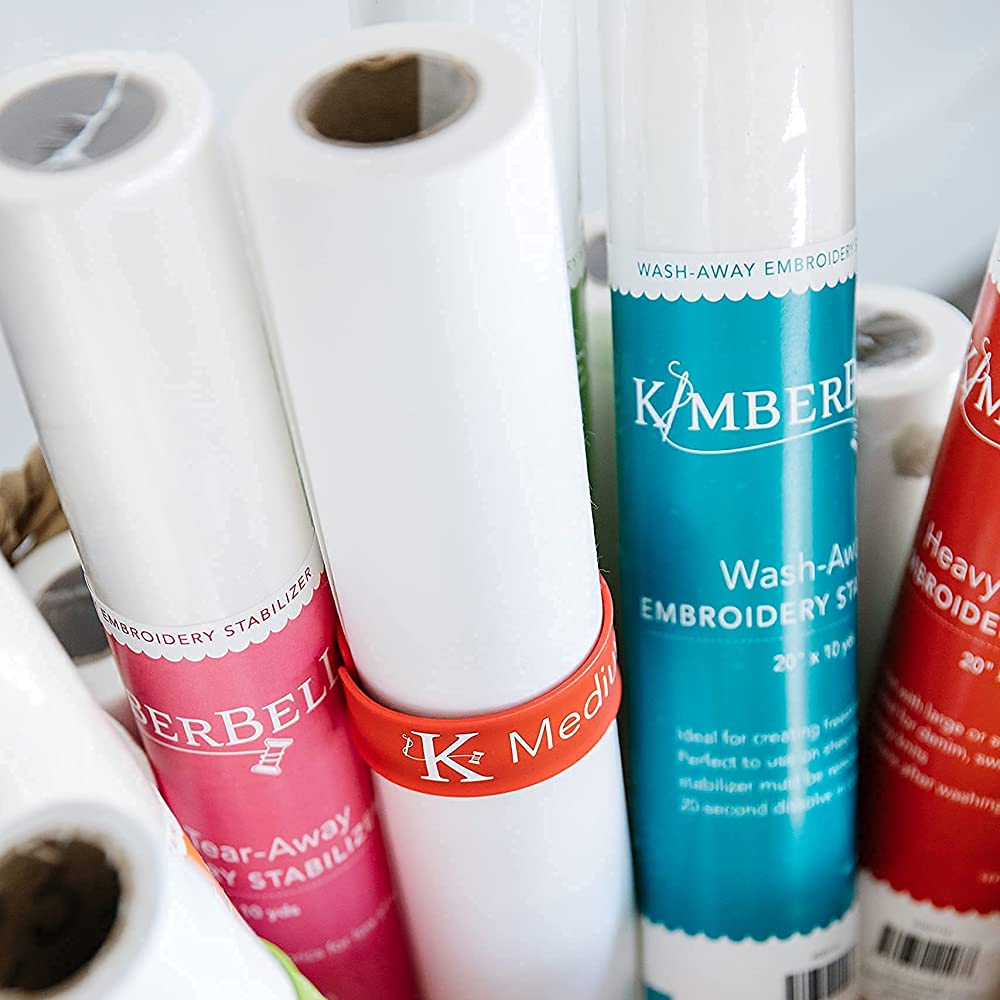
- If you get them mixed up, Tear-Away and Cut-Away can be hard to differentiate. Try tearing a small corner, if it doesn’t tear easily, it’s Cut-Away! (Also, check out these great Kimberbell Slap Bands to help keep your stabilizer tidy and organized.)
- Stabilizer can quickly dull your needles and scissors, make sure you change your needles often and sharpen your scissors frequently. Another good idea is to designate one pair of scissors for only cutting stabilizers.
- Deciding between Light, Medium, or Heavy Tear-Away Stabilizer can be tricky; use Kimberbell’s super helpful Stabilizer Guide to help decide exactly what stabilizer is best for you and your projects!
Whether you're working on T-shirts, knits, or other stretchy fabrics, Cut-Away Stabilizer is your go-to for preventing stretching, puckering, and distortion. Make your embroidery journey smoother and your creations more beautiful by mastering the art of stabilizer selection with Stabilizer School – because your ME Time should be about creating, not worrying about stabilizer.
ABOUT ME TIME: Every machine embroiderer knows how frustrating it can be to find the time and materials to start a new project. ME Time delivers complete machine embroidery experiences right to your doorstep so you can start creating the moment you're ready!