When you begin a new machine embroidery project, one of the first decisions you have to make is what stabilizer to use. Picking the right stabilizer is a crucial decision that will affect your experience and the final result of your project. Taking time to learn what stabilizer does, and which stabilizer works best for your project, can make your projects run smoother and look better. Stabilizer School is here to help you learn about stabilizer so you can spend your “ME Time” creating beautiful projects and not stressing about stabilizer.
Why Tear-Away Stabilizer?
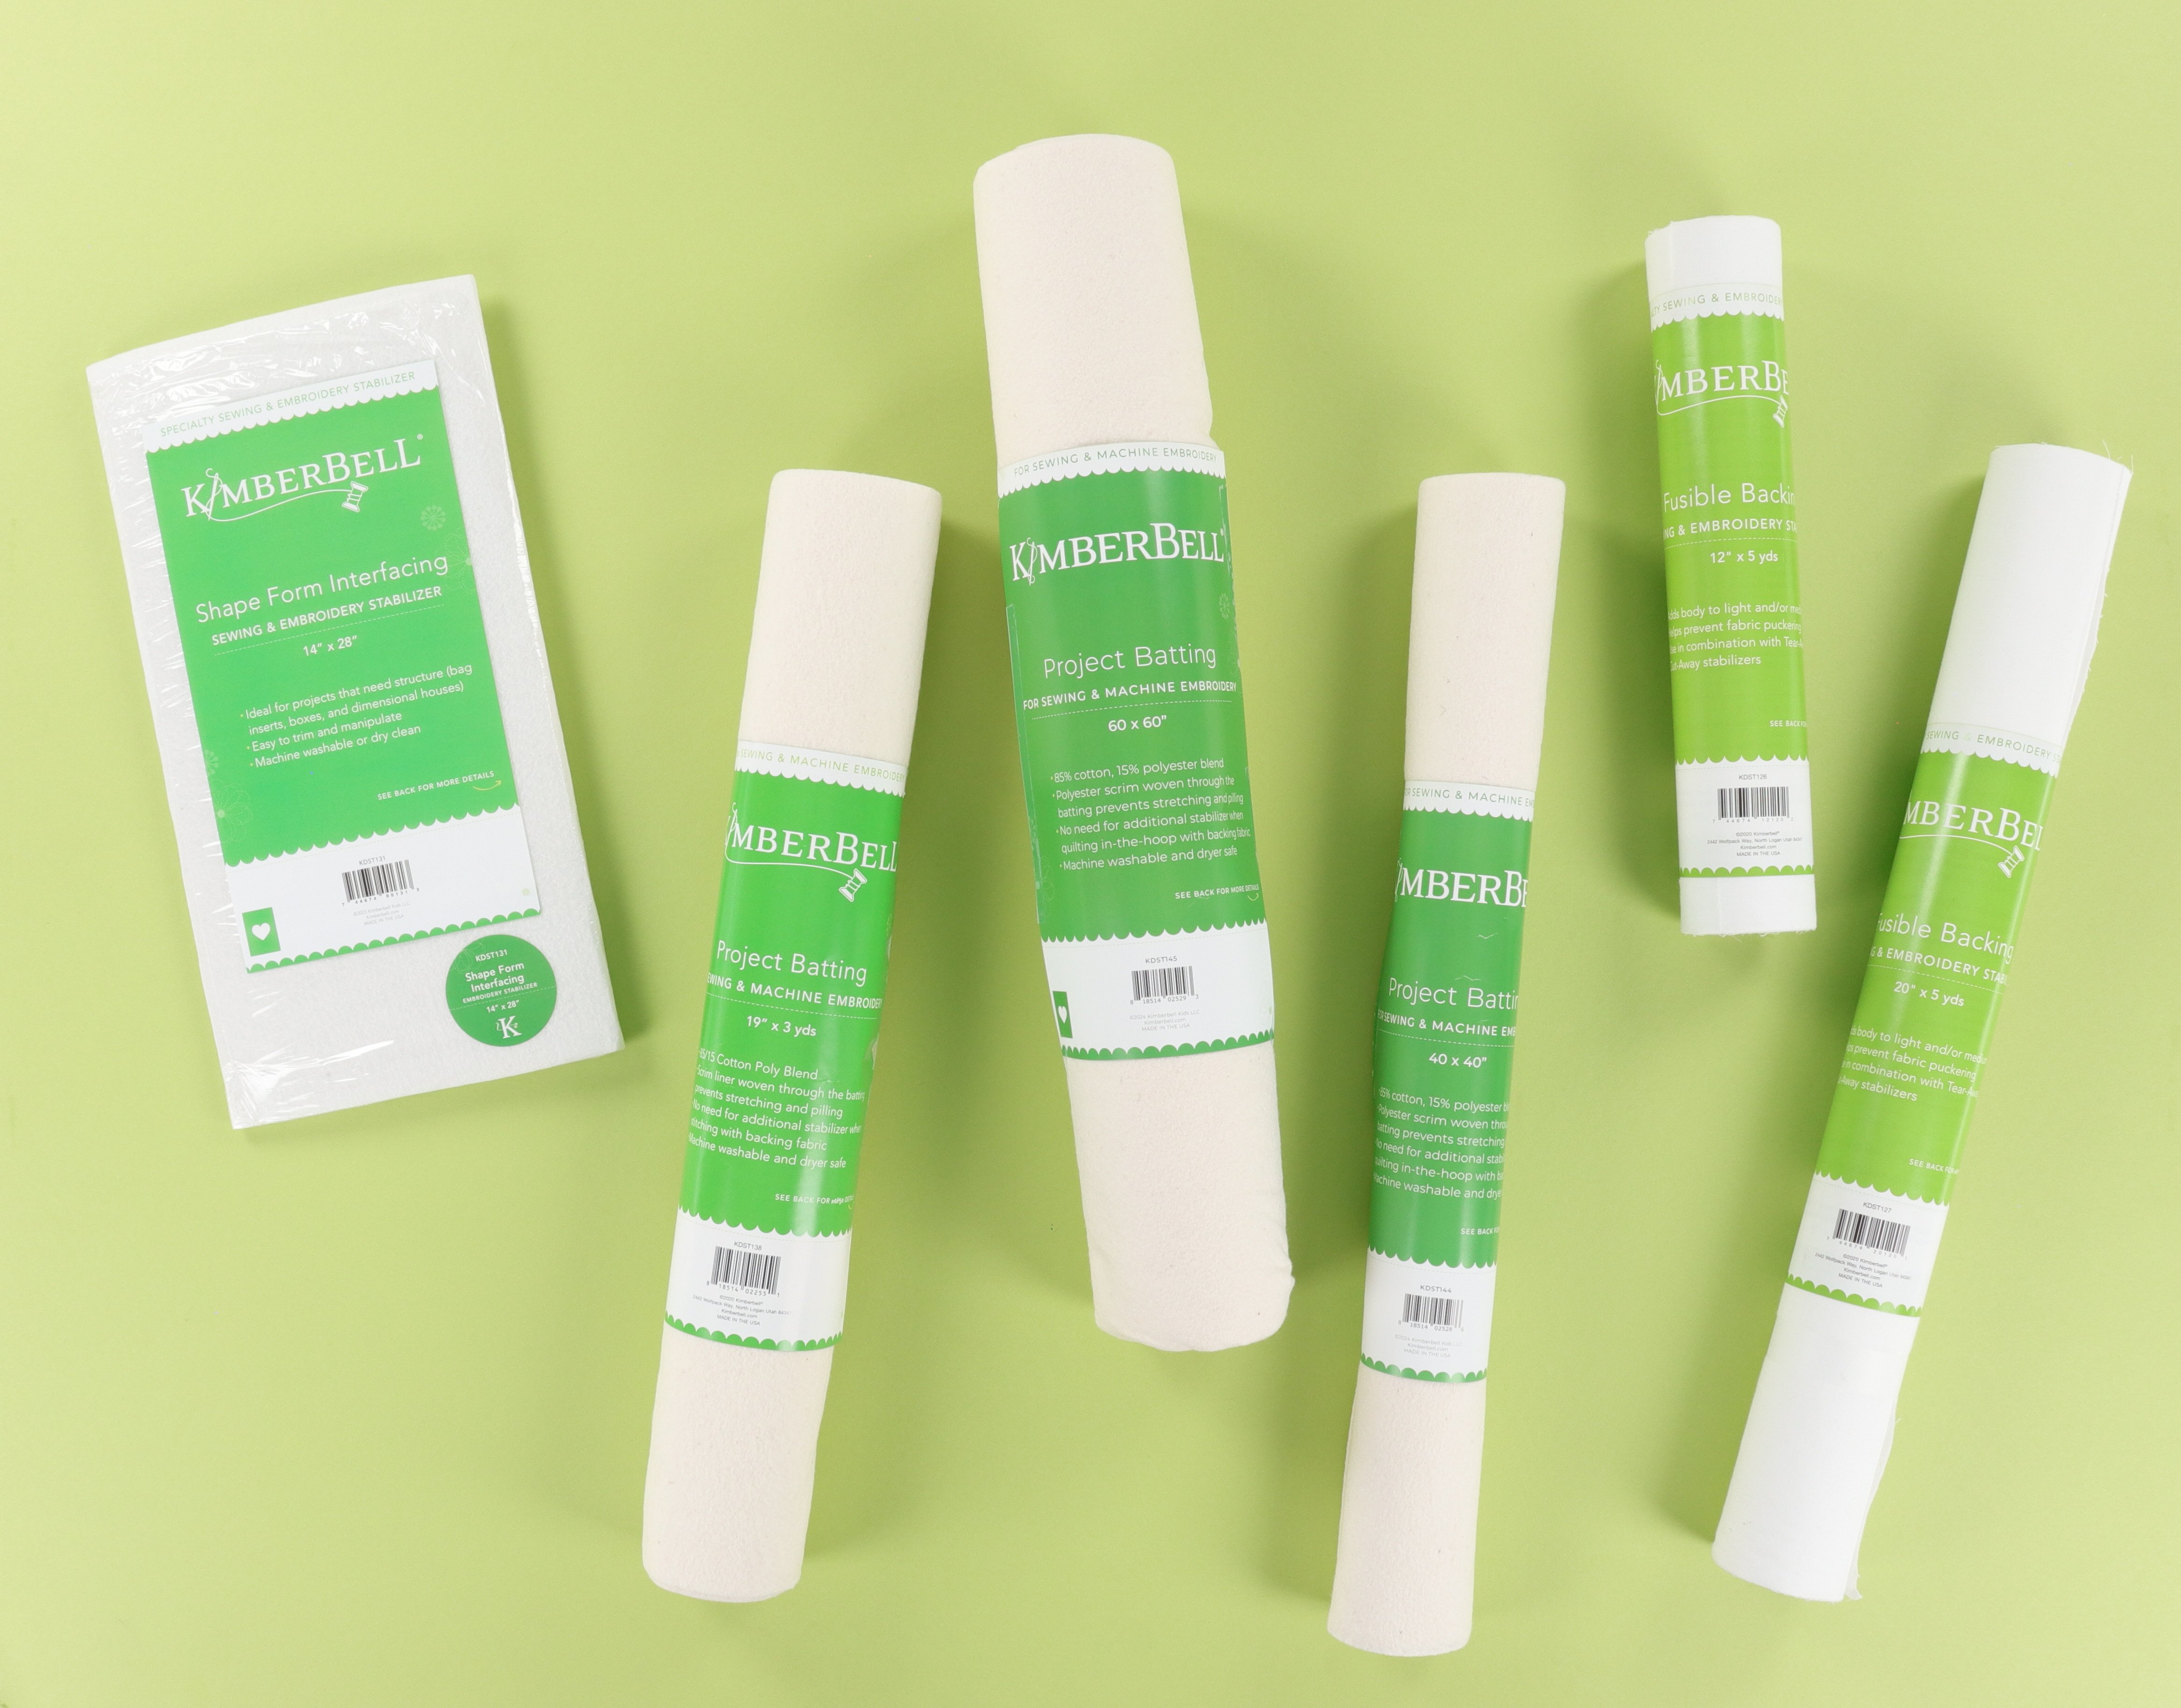
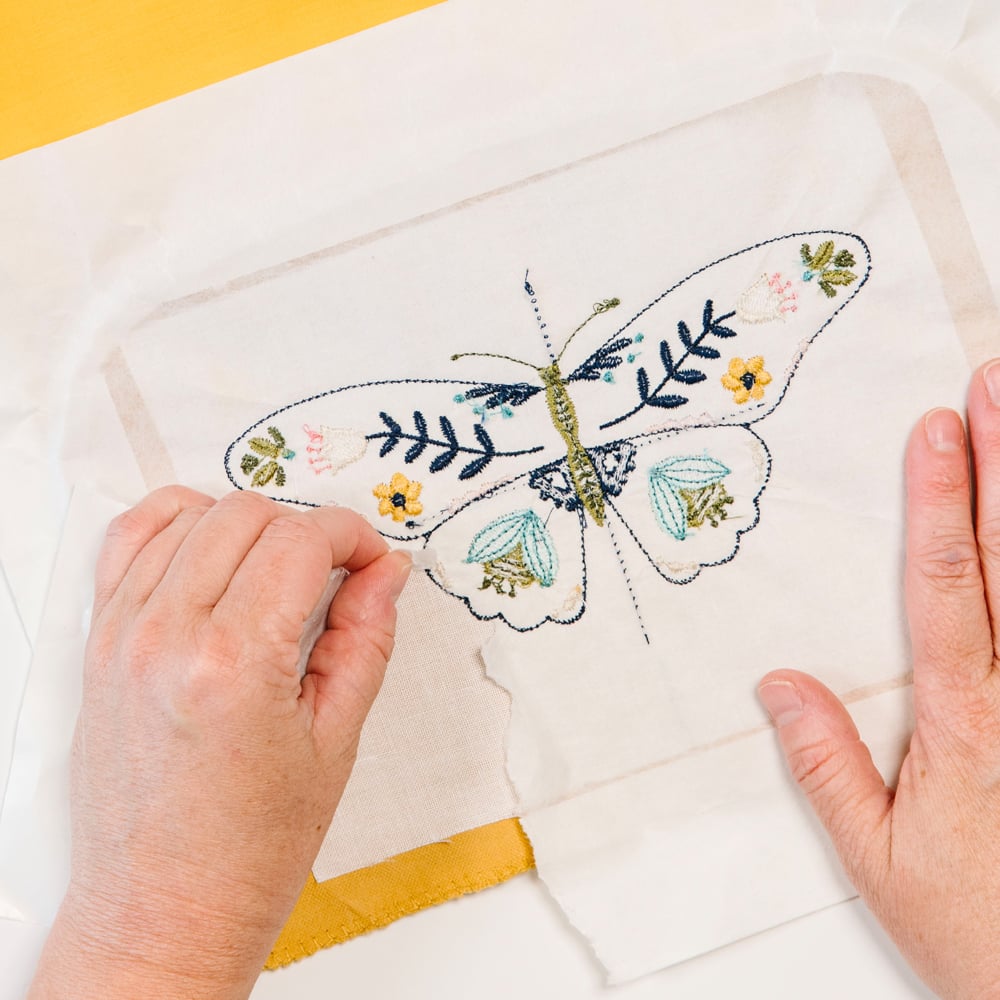
Tear-Away Stabilizer is designed, as the name suggests, to tear away neatly and easily from your projects. Tear-Away provides a sturdy non-stretch foundation and is perfect for projects that are stitched on stable, non-stretch fabrics such as:
.jpg?width=498&height=497&name=kbj6-6272%20(edited).jpg)
- Cotton
- Denim
- Vinyl
- Leather
- Felt
- Terry Cloth
- Chambray
- Poplin
- and Canvas
They are also great for larger designs or stitching areas because it’s easy to just tear away the excess stabilizer after you’re done. Tear-Away is designed to prevent tunneling, puckering, and distorting during the stitching process, but because they are torn away after you are done with your project they don’t give the same continual support Cut-Away stabilizers might provide.
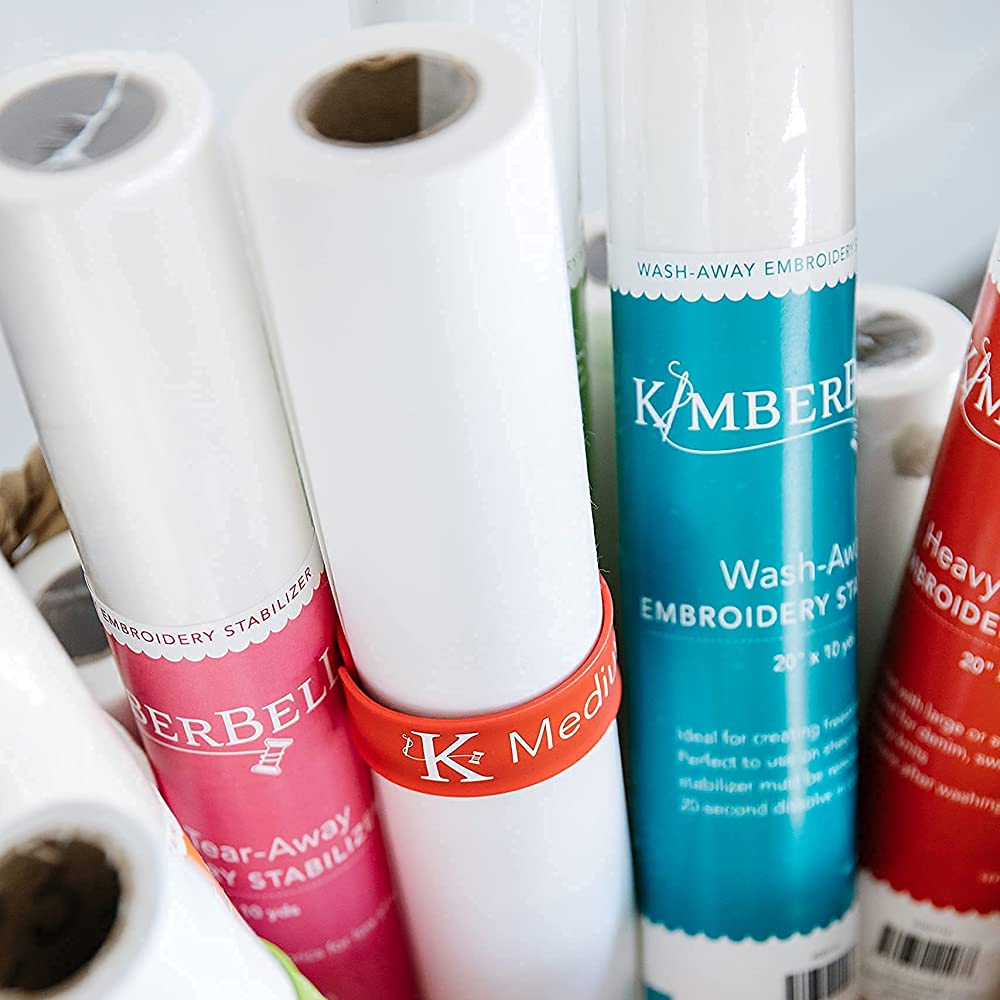
Kimberbell also provides a Sticky-Back Tear-Away Stabilizer, which has an adhesive on one side that, after removing the protective paper, is perfect for sticking to hard-to-hoop projects while still maintaining all of the benefits of traditional Tear-Away Stabilizer.
Helpful Tips for Tear-Away:
- Sometimes you are left with little pieces of Tear-Away in intricate designs or tight corners. Don’t worry too much about digging them out and risking ruining your hard work, they’ll eventually fall out and disintegrate after normal washing and/or wearing.
- You can use several layers of Lightweight Tear-Away stabilizer for more delicate designs. Then after you’re done, gently tear away the stabilizer one layer at a time.
- If you get them mixed up, Tear-Away and Cut-Away can be hard to differentiate. Try tearing a small corner, if it tears easily, it's Tear-Away! (Also, check out these great Kimberbell Slap Bands to help keep your stabilizer tidy and organized.)
- Stabilizer can quickly dull your needles and scissors, make sure you change your needles often and sharpen your scissors frequently. Another good idea is to designate one pair of scissors for only cutting stabilizers.
- Deciding between a Light, Medium, or Heavy Tear-Away Stabilizer can be tricky; use Kimberbell’s super helpful Stabilizer Guide to help decide exactly what stabilizer is best for you and your projects!
ABOUT ME TIME: Every machine embroiderer knows how frustrating it can be to find the time and materials to start a new project. ME Time delivers complete machine embroidery experiences right to your doorstep so you can start creating the moment you're ready!